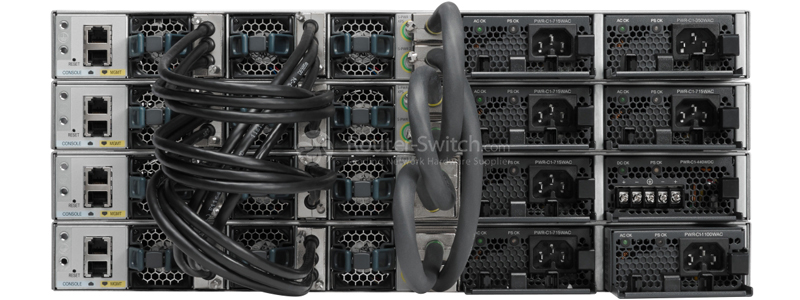
Adding new switches to a live stack without downtime can be daunting. Below is the process I’ve used with success.
- Physically install the new switch WITHOUT any cables connected.
- Power up the new switch and wait for it to boot. Do not attach any stack cables.
- Provision the new switch by issuing the following command on the new switch
switch 1 renumber <new switch number> - Save the config and reboot the new switch
- Upon bootup, confirm switch stack number using
show switch - Delete the old invalid switch 1 entry on the new switch and reboot again.
- Upon reboot ensure there is only the new switch entry using
show switch - On the live stack, add a stack provision for the new switch using
switch <num> provision <model> - If the versions are mismatched between the live switch stack and the new switch, ensure software auto-upgrade enable is configured on the live stack. It’s a good idea to get the versions are close as possible, in my case I downgraded a new switch with version 16.x.x to 3.06.04 and let auto-upgrade take it down further to 3.06.03 as that version was deferred by Cisco making it unavailable for download.
- Unplug the new switch from power. Ensure it is turned off. Double check.
- Connect stacking cables.
- Power up the new switch.
- On the live switch, run
show switchto monitor the progress of the new switch being added to the stack.
The most important thing in this whole process is knowing what will cause an election for master, that’s what will get the switch stack rebooting. By ensuring the new switch will join as a member you avoid the reboot.
If you’re adding multiple new switches, I prefer doing the entire process twice instead of both at once, just because it’s one less bit of complexity to go wrong.
